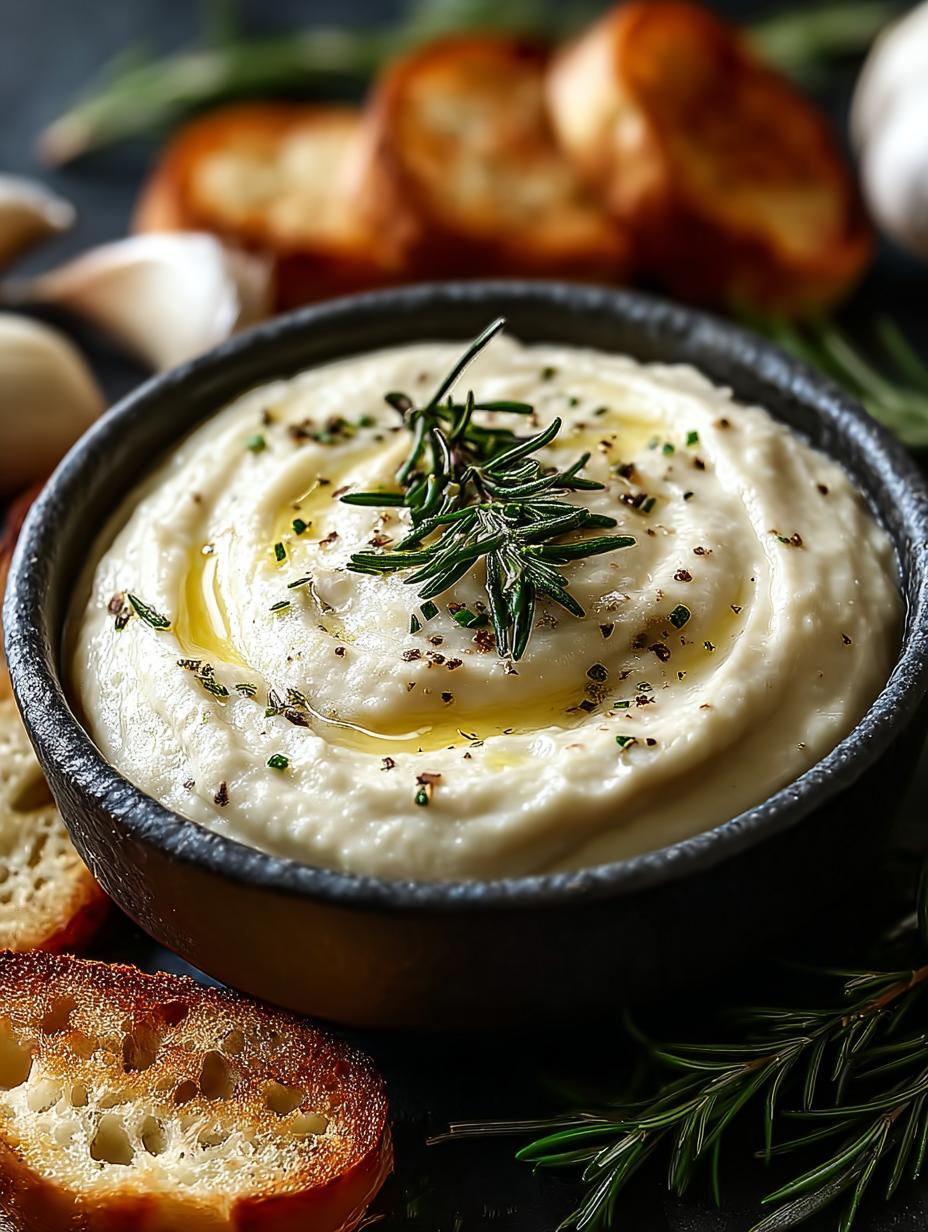
Bowl Roasted Garlic Aioli has become my go-to game-day dip, making every gathering a flavor-packed experience. This creamy garlic sauce combines the rich sweetness of roasted garlic with zesty lemon, creating an irresistible dip that pairs perfectly with fries, fresh veggies, or as a luxurious sandwich spread. As we dive into the world of homemade roasted garlic aioli, prepare to elevate your snacking game and impress your friends!
Why You’ll Love This Bowl Roasted Garlic Aioli
This bowl of roasted garlic aioli is not just a dip; it’s a flavor explosion! Here’s why you’ll adore it:
- Easy to make with simple ingredients.
- Perfect for game day or casual gatherings.
- Versatile enough for fries, sandwiches, or veggie platters.
- Rich and creamy texture that enhances any dish.
- Homemade roasted garlic aioli is healthier than store-bought options.
- Can be adapted into a vegan roasted garlic aioli easily.
With these benefits, it’s clear that this roasted garlic aioli recipe is a must-try for anyone looking to impress. Plus, it’s an American classic that fits perfectly into a vegetarian diet!
Ingredients for Bowl Roasted Garlic Aioli
Gather these items:
- 1 bulb Garlic
- 4 tbsp Olive Oil
- 1 cup Mayonnaise
- 2 tbsp Fresh Lemon Juice
- 0.5 tsp Salt
How to Make Bowl Roasted Garlic Aioli Step-by-Step
- Step 1: Preheat your oven to 400°F (200°C). Cut the top off a whole bulb of garlic, drizzle it with olive oil, wrap it in foil, and roast for 30-35 minutes until tender and golden brown.
- Step 2: Once roasted, let the garlic cool slightly; gently squeeze out the soft cloves into a mixing bowl.
- Step 3: Add 1 cup of mayonnaise, 2 tablespoons of fresh lemon juice, and ½ teaspoon of salt to the bowl that contains the roasted garlic. Whisk everything together until it’s beautifully smooth and creamy.
- Step 4: With the whisk still in action, slowly drizzle in the remaining olive oil. Keep mixing until your aioli reaches a silky, creamy consistency.
- Step 5: Take a moment to sample your creation! If it needs a little extra zing, adjust the seasoning with more lemon juice or salt to taste.
- Step 6: Transfer your glorious aioli to a serving bowl. It pairs wonderfully with crispy fries, fresh veggies, or as a spread for sandwiches.
Pro Tips for the Perfect Bowl Roasted Garlic Aioli
Keep these in mind:
- Use high-quality mayonnaise for the best flavor.
- For a garlic-infused aioli, add more roasted garlic to taste.
- Experiment with herbs like parsley or dill for added freshness.
- Consider making a spicy roasted garlic aioli by adding a dash of cayenne pepper.
Best Ways to Serve Bowl Roasted Garlic Aioli
Wondering how to serve your roasted garlic aioli? Here are some fantastic ideas:
- As a dip for crispy fries, enhancing their flavor.
- Spread on sandwiches for a creamy texture.
- Serve with fresh veggies for a healthy snack.
This dip also works exceptionally well as a sauce for grilled seafood or chicken!

How to Store and Reheat Bowl Roasted Garlic Aioli
To store your homemade roasted garlic aioli, simply transfer it to an airtight container. It can last in the refrigerator for up to a week. If you make it ahead of time, just give it a good stir before serving. Remember, this creamy garlic sauce can also be a fantastic meal prep item, ready to enhance your meals throughout the week!
Frequently Asked Questions About Bowl Roasted Garlic Aioli
What’s the secret to perfect Bowl Roasted Garlic Aioli?
The secret lies in roasting the garlic until it’s golden and soft, which brings out its natural sweetness. This step is essential for creating a delicious garlic aioli dip. Use fresh ingredients for the best results!
Can I make Bowl Roasted Garlic Aioli ahead of time?
Absolutely! You can prepare this aioli a day or two in advance. Just store it in the fridge, and it will be ready to serve when you need it. This makes it perfect for parties and gatherings!
How do I avoid common mistakes with Bowl Roasted Garlic Aioli?
To avoid mistakes, ensure you roast the garlic properly and whisk the ingredients together until completely smooth. If your aioli separates, slowly drizzle in more oil while whisking to re-emulsify it.
Variations of Bowl Roasted Garlic Aioli You Can Try
Looking to switch things up? Here are a few variations:
- Add roasted herbs like thyme or basil for a distinct flavor.
- Make a vegan roasted garlic aioli by substituting mayonnaise with a plant-based alternative.
- Incorporate smoked paprika for a smoky twist.
These variations will keep your bowl of roasted garlic aioli fresh and exciting every time!
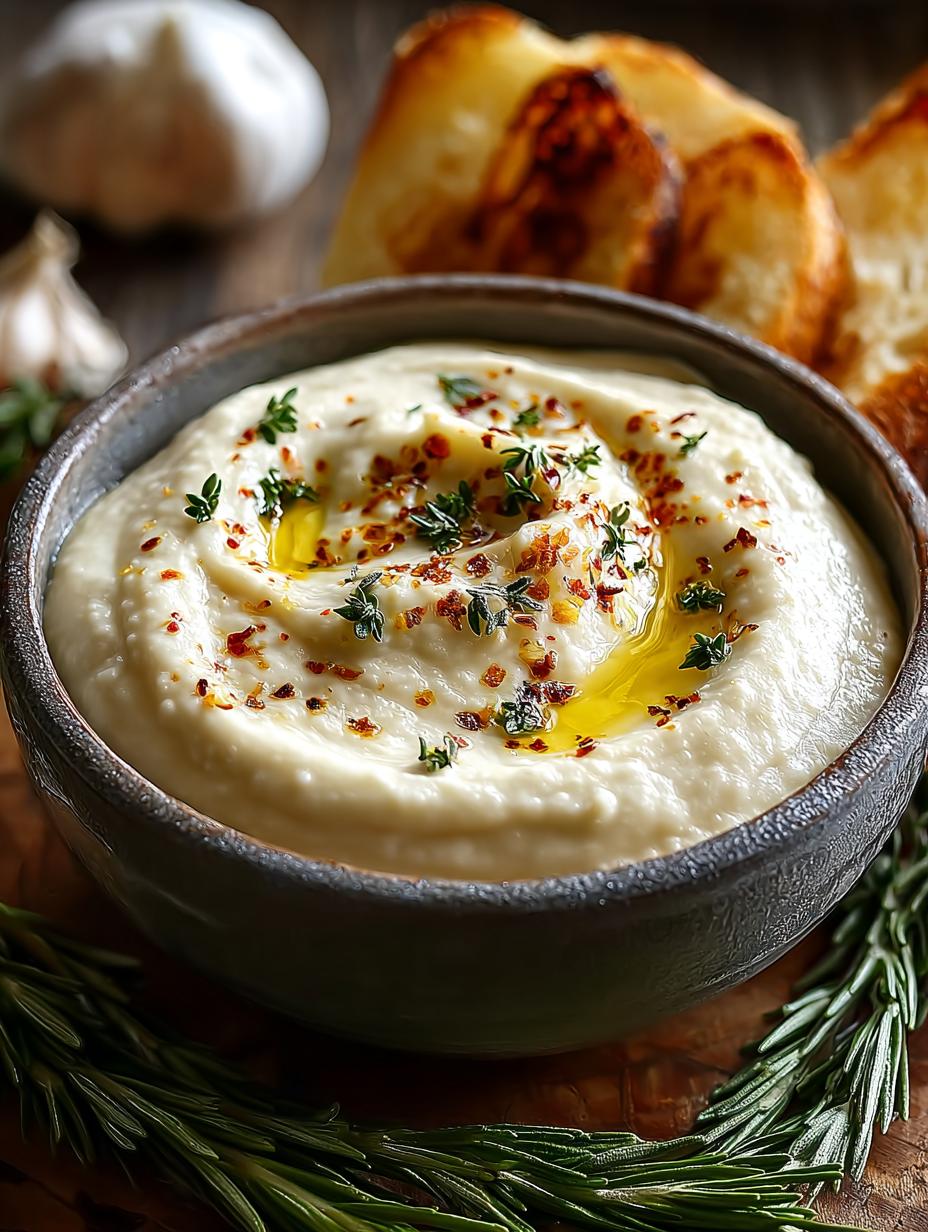
For more delicious recipes, check out our latest recipes or try making creamy garlic beef pasta for a hearty meal. You can also explore oven-baked salmon for a healthy option!
Print
5 Irresistible Bowl Roasted Garlic Aioli for Game Day
- Total Time: 50 minutes
- Yield: Serves 4-6 1x
- Diet: Vegetarian
Description
This SUPER BOWL Roasted Garlic Aioli is a game-day dip that combines creamy mayo, roasted garlic, and lemon for a flavor-packed experience.
Ingredients
- 1 bulb Garlic
- 4 tbsp Olive Oil
- 1 cup Mayonnaise
- 2 tbsp Fresh Lemon Juice
- 0.5 tsp Salt
Instructions
- Preheat your oven to 400°F (200°C). Cut the top off a whole bulb of garlic, drizzle it with olive oil, wrap it in foil, and roast for 30-35 minutes until tender and golden brown.
- Once roasted, let the garlic cool slightly; gently squeeze out the soft cloves into a mixing bowl.
- Add 1 cup of mayonnaise, 2 tablespoons of fresh lemon juice, and ½ teaspoon of salt to the bowl that contains the roasted garlic. Whisk everything together until it’s beautifully smooth and creamy.
- With the whisk still in action, slowly drizzle in the remaining olive oil. Keep mixing until your aioli reaches a silky, creamy consistency.
- Take a moment to sample your creation! If it needs a little extra zing, adjust the seasoning with more lemon juice or salt to taste.
- Transfer your glorious aioli to a serving bowl. It pairs wonderfully with crispy fries, fresh veggies, or as a spread for sandwiches.
Notes
- Prep Time: 15 minutes
- Cook Time: 35 minutes
- Category: Dip
- Method: Roasting and Mixing
- Cuisine: American
Nutrition
- Serving Size: 2 tablespoons
- Calories: 150
- Sugar: 0 g
- Sodium: 200 mg
- Fat: 15 g
- Saturated Fat: 2 g
- Unsaturated Fat: 13 g
- Trans Fat: 0 g
- Carbohydrates: 2 g
- Fiber: 0 g
- Protein: 1 g
- Cholesterol: 5 mg
Keywords: Roasted Garlic Aioli, Game Day Dip